SMS and mail services
Send SMS via Blue Integrator
Send SMS via Blue Integrator
Blue Integrator allows you to send text messages directly from the XML system. In this example we will show you how Blue Integrator is linked to the existing SMS service LEKAB.se.
- 1. First, you must select an SMS service to determine the message parameters. In this example we have chosen LEKAB.se.
- 2. Start by creating a scheme that describes how the XML file should look. The schedule should contain the parameters that SMS service needs to send a text message.
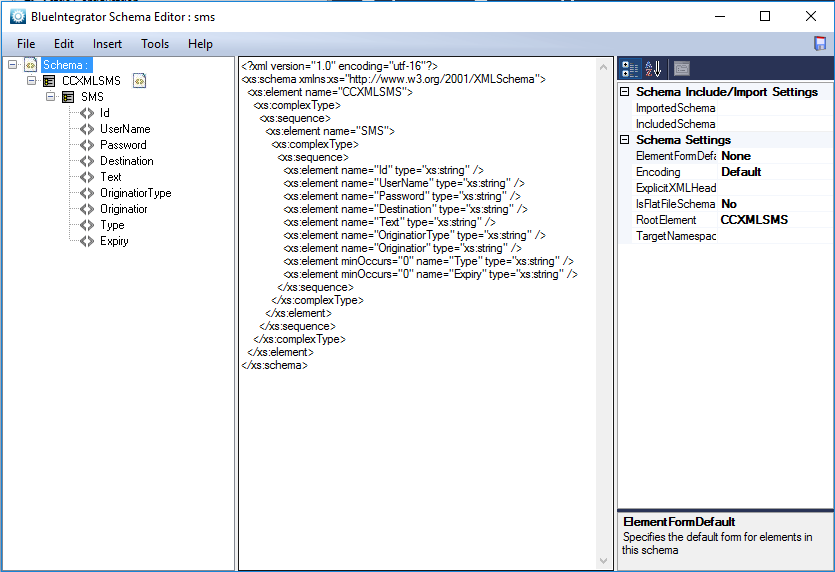
- 3. Once you have decided how to design the XML file, it is time to create a “Receive Port”, in this case, the Receive port will listen for changes in a specific folder. We call this port for rec_sms.
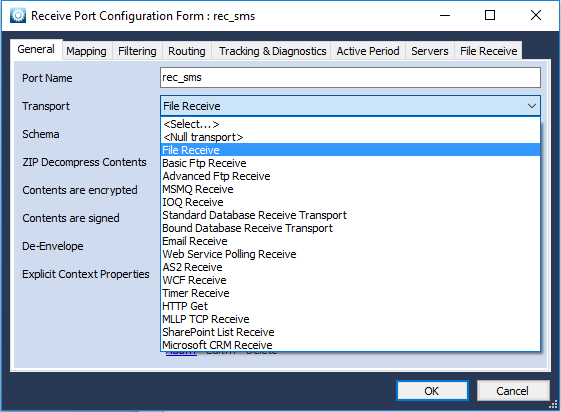
- 4. Now it is time to choose “File Receive” under the transport tab.
- 5. Because this port should listen to a folder, you must also select which folder to listen to.
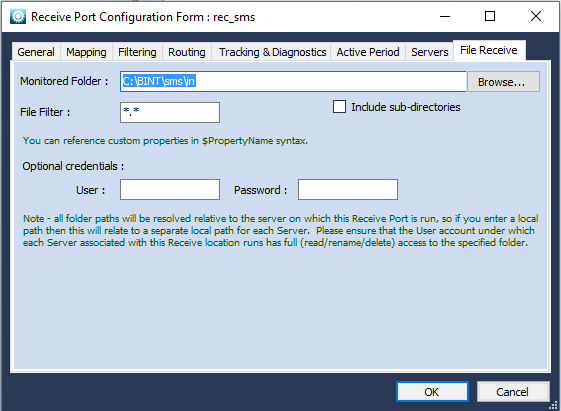
Do not forget to put which server the port should be run on, this is done under the server tab.
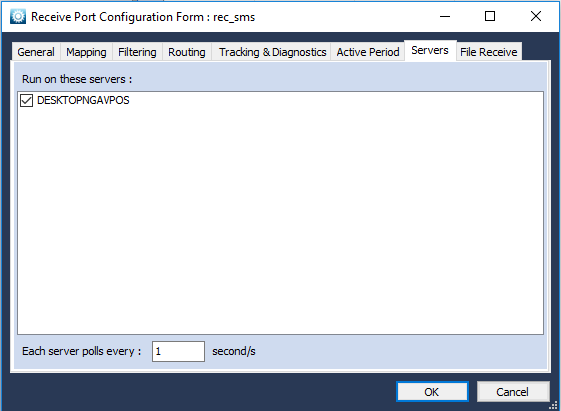
- 6. Create a “Send Port” here we have renamed it to snd_sms.
- 7. Under the transport tab, select “File Send” to save a file. Here are many different choices that can be made depending on where or where to save.
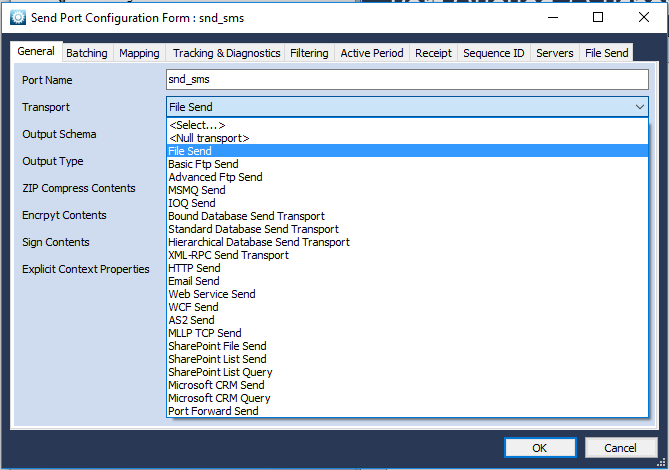
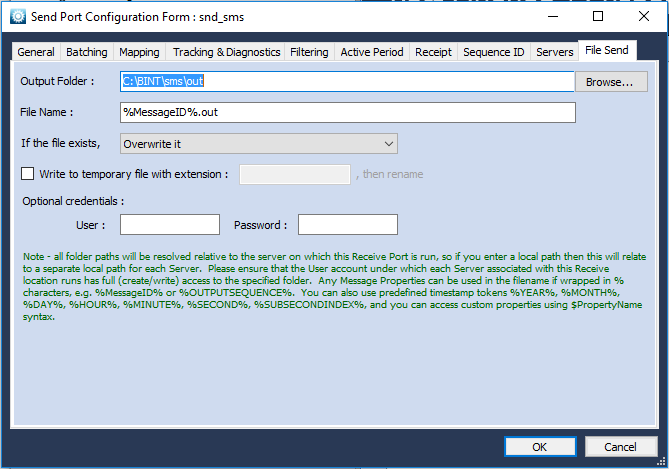
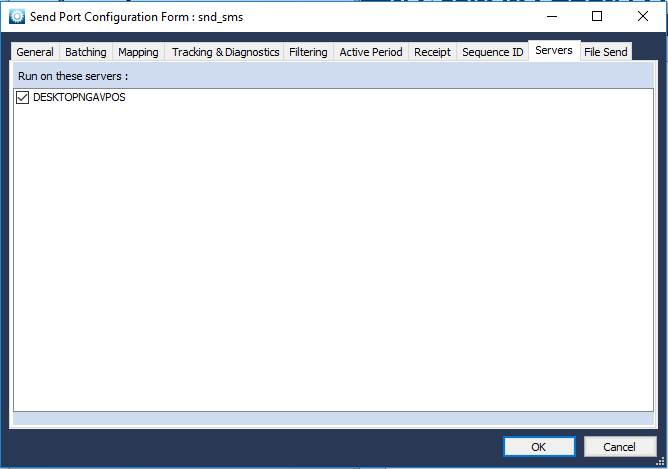
- 8. Because in this example we choose to save the status and more in a file, we must select a destination for the file and file suffix. Do not forget to choose which server to receive the information under the Server tab.
- 9. Next step is to create a link between Recieve port and Send port and decide what’s going to happen in between. This is done using a workflow that we here baptize to wkf_sendsms.
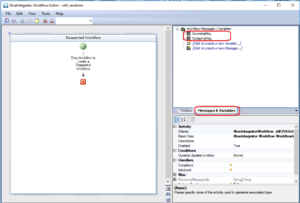
- 110. Create two messages-one for incoming and one for outgoing.
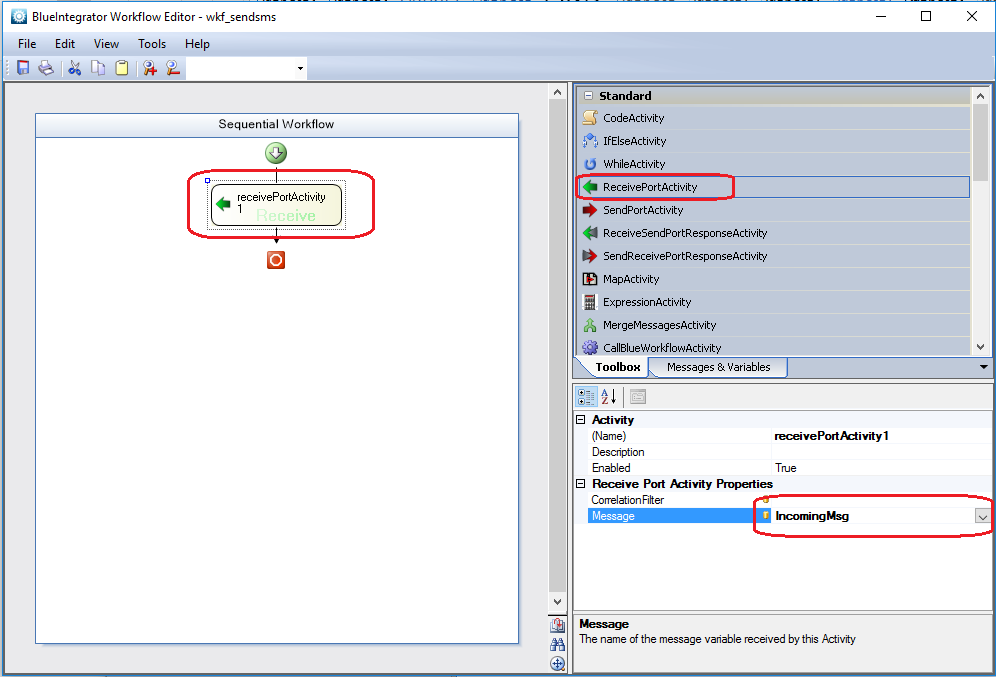
- 11. Create a Recieve Port Activity in the next step, in this example, the receiver port will be reconnected at rec_sms. The recieve port also receives the message that we in this example named IncomingMsg.
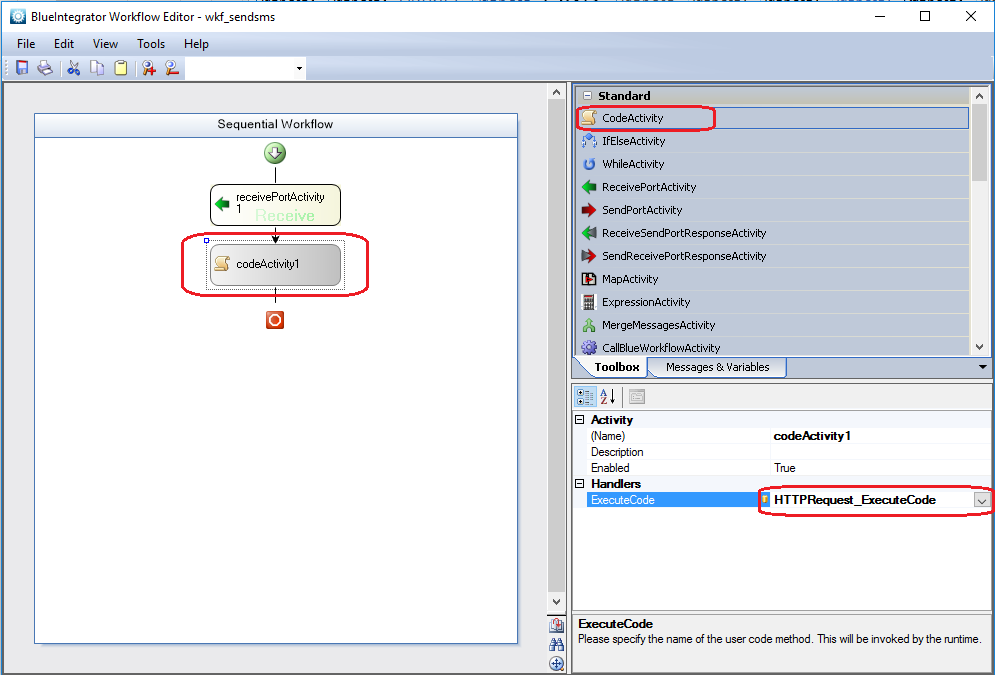
- 12. Now it’s time to create the event that sends away the text to the SMS service. In this example, we denote it to HTTPRequest_ExecuteCode to describe what will happen.
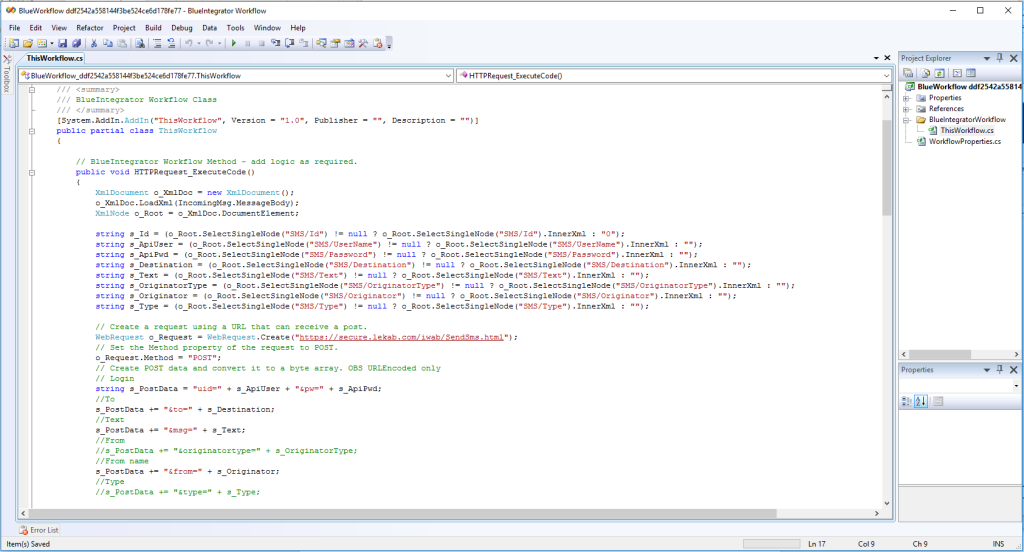
The following image shows a bit of the code that retrieves the information from the XML file that has been added to the folder the Receiver port is listening to.
- 13. Now it’s time to send OutgoingMsg to the Send port.
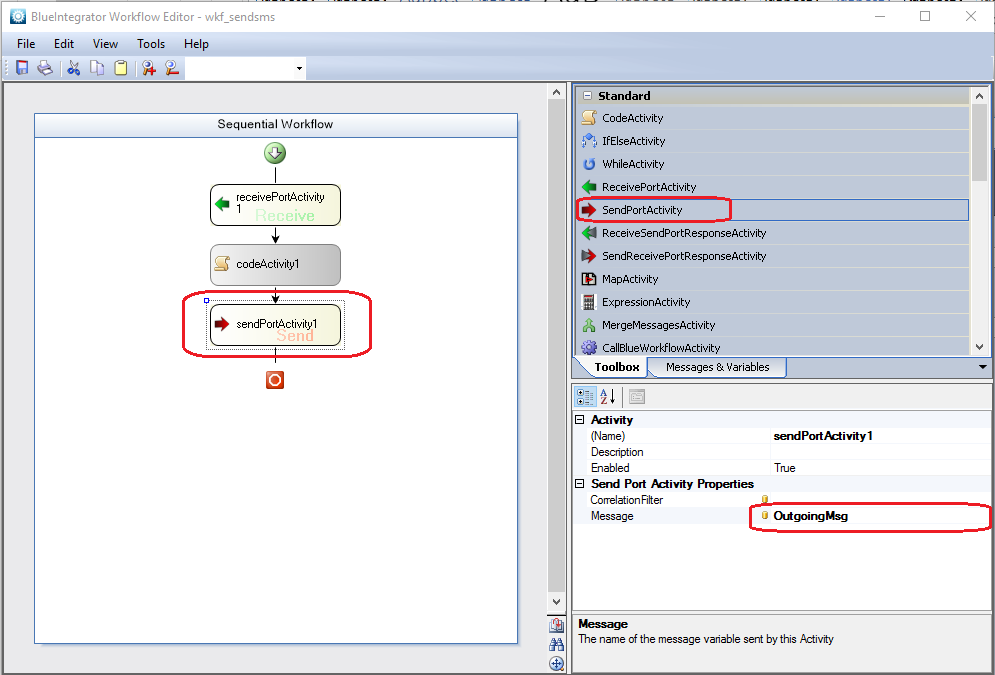
- 14. The last step in the process is to bind the workflow to the Receiver port and the Send port. Choose tab binding under your newly created workflow and create a new binding. Here you can choose a name for your connection and finally choose your Receiver and Send port.
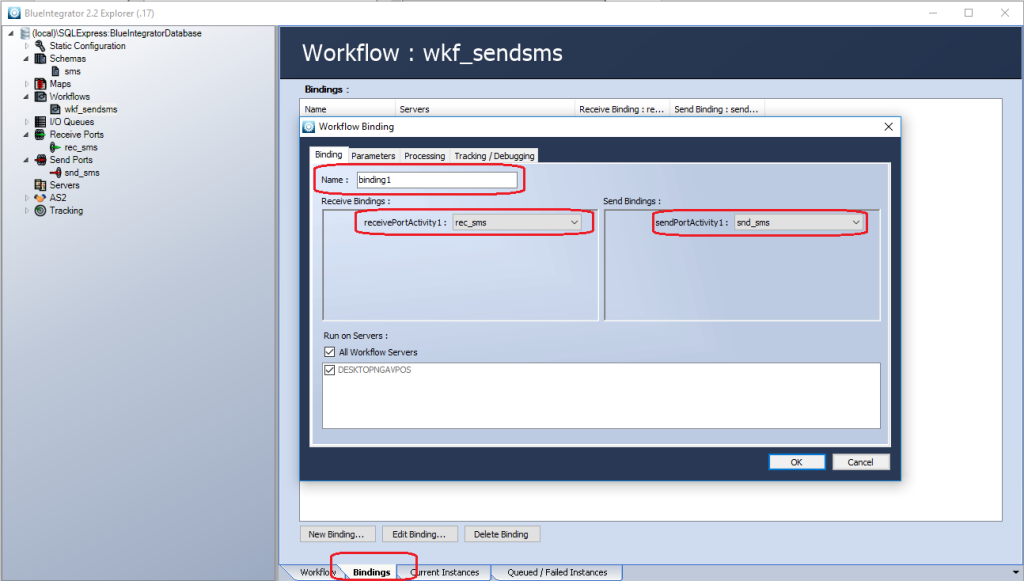
Do not forget to start both your Receiver Port and your Send Port by right-clicking and selecting enabled.
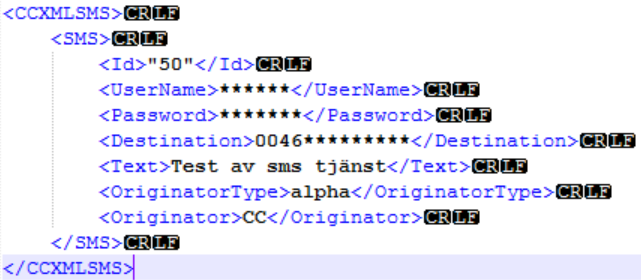
Here’s what the XML file looks like in our example:
