Help
Send Port Configuration Form
Help menu
- Help content
- AS2
- Examples and Tutorials
- IO Queues and Forms
- Maps
- Schemas
- Send and Receive Ports
- Send and Receive Ports / Transports
- Servers
- Static Configuration
- Tracking
- Workflows
- Workflows / Workflow Activities
- Call Web Service Direct Activity
- Compensatable Sequence Activity
- Compensatable Transaction Scope Activity
- Compensate Activity
- Conditioned Activity Group
- Database Activity
- Delay Activity
- Event Handling Scope Activity
- Event Driven Activity
- Expression Activity
- Fault Handler Activity
- If Else Activity
- Increment Activity
- Invoke Web Service Activity
- Invoke Blue Integrator Workflow Activity
- Invoke Workflow Activity
- Listen Activity
- Map Activity
- Parallel Activity
- Policy Activity
- Send Receive Port Response Activity
- Replicator Activity
- Send Receive Port Response Activity
- Send Port Message Activity
- Sequence Activity
- Suspend Activity
- Synchronization Scope Activity
- Transaction Scope Activity
- While Activity
The Send Port Configuration Form is used to configure Send Ports. The Send Port Configuration Form has several tabs across the top of the form:

The tabs and the fields on those tabs are discussed in the sections below. After completing the configuration of a Send Port through the Send Port Configuration Form, click the ‘OK’ button to save the Send Port information.
General tab
The fields on the Send Port Configuration Form General tab are:
| Port Name: | The name of the Send Port being created (this should be descriptive to enable you to identify the port from the list of ports) | ||
| Transport: | The transport used for this Send Port (this is a drop-down list) | ||
| Output Schema: | The schema to be used for this Send Port | ||
| Output Type: | The type of output to be sent through this Send Port | ||
| Zip Compress Contents: | If checked, messages through this Send Port are compressed with the ZIP algorithm | ||
| Encrypt Contents: | If checked, messages sent through this Send Port are encrypted. The recipient certificate (public key) needs to be specified from the drop-down. | ||
| Sign Contents: | If checked, messages sent through this Send Port are signed. The signing certificate must be specified from the drop-down.
| ||
| Explicit Context Properties: | A list of predefined message Context contents, which can be either fixed values or the results of XPath Expressions. Use the Add, Edit and Delete links at the bottom of this pane to manage the content. |
Batching tab
This tab allows you to specify that incoming messages will be joined together. If messages sent to the port satisfy the timing and batch size parameters specified on this tab, they will be combined into one larger message.
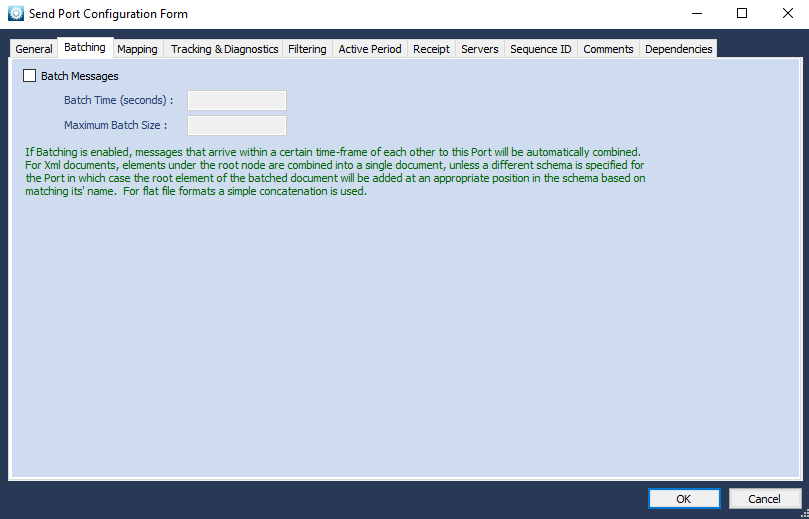
If Batching is enabled, messages that arrive within a certain time-frame of each other to this Port will be automatically combined. For Xml documents, elements under the root node are combined into a single document, unless a different schema is specified for the Port in which case the root element of the batched document will be added at an appropriate position in the schema based on matching its’ name. For flat file formats a simple concatenation is used.
Mapping tab
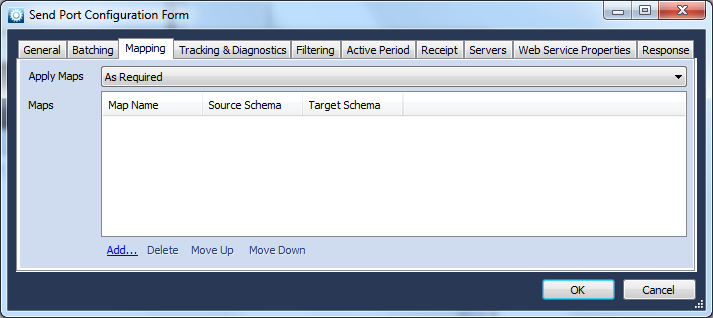
The fields on the Mapping tab are:
| Apply Maps: | Allows you to select whether to apply maps either As Required or In Order |
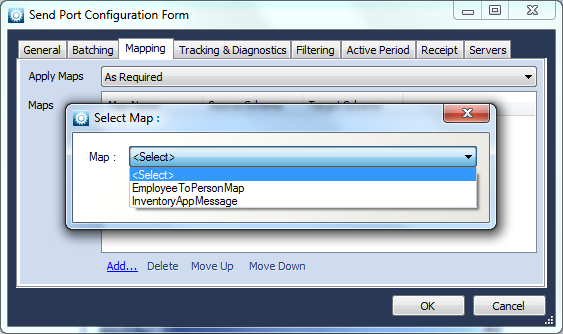
| Maps: | A list of maps that are applied to the messages processed through the Send Port. Use the Add, Delete, Move Up and Move Down links at the bottom of the pane to create, manage the order of, and remove maps from the list. Selecting the Add link lets you choose the Map to be applied from a drop-down list: |
Tracking & Diagnostics tab
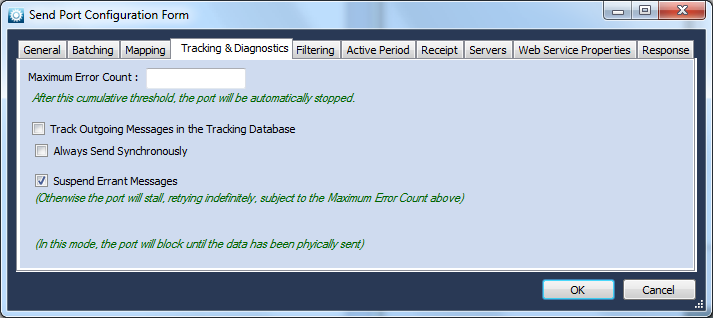
The fields on the Tracking & Diagnostics tab are:
| Maximum Error Count: | Sets the threshold of number of attempts to send a message through this Send Port |
| Track Outgoing Messages in the Tracking Database: | If checked, information about the messages sent through this Send Port are recorded. When checked, the Store Message Contents option can be selected also, which stores the actual content of the message instead of just general information. |
| Suspend Errant Messages: | If checked, allows a message that is not being sent properly to be suspended. If this option is not checked, a message can choke the Send Port in an infinite send attempt loop, so this option should be checked. |
| Always Send Synchronously: | If checked, the Send Port will be blocked from other messages until the current message has been successfully sent. |
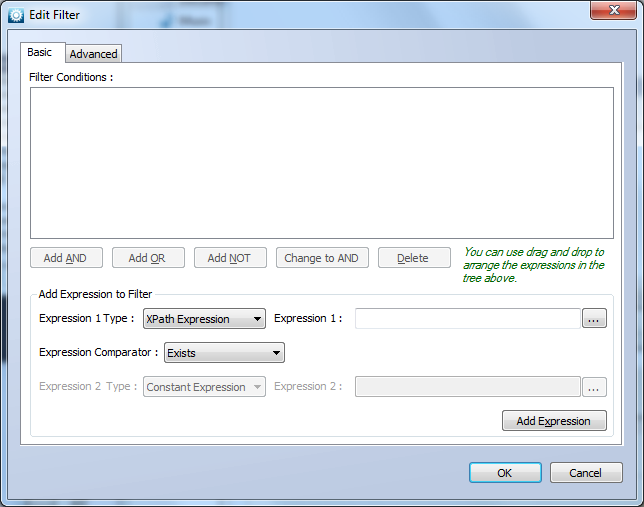
Filtering tab

The Filtering tab allows you to set filters applied to messages processed by this Send Port. To create, modify or delete a filter, click the r;Edit Filter button and use the Edit Filter dialog to build the filter contents:
Active Period tab
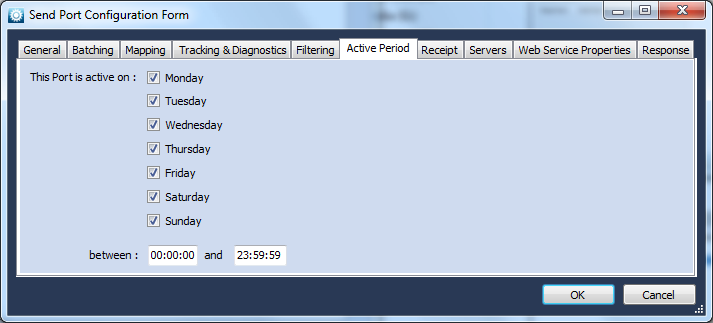
The fields on the Active Period tab allow you to specify the days and times that this Send Port is active. By default, the port is active 24 hours a day, seven days a week, but you can limit the port’s use using these checkboxes and time fields.
Receipt tab
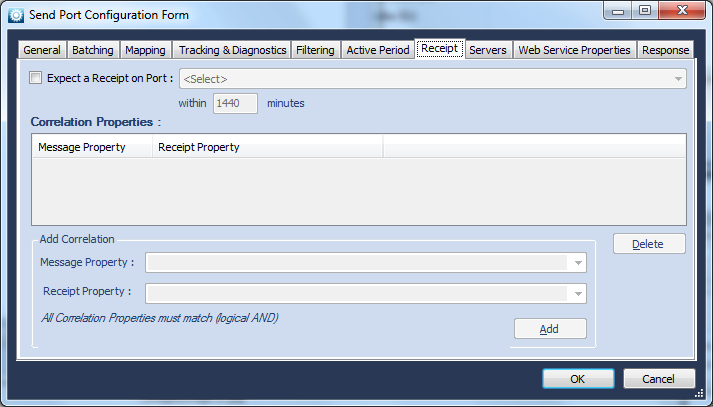
The fields on the Receipt tab allow you to set the Send Port to handle a receipt generated by the destination based on the messages sent:
| Expect a Receipt on Port: | If checked, BlueIntegrator will expect a receipt to be received on the specified port. If not checked, no receipt is expected. If a receipt is expected, the rest of the Receipt tab becomes active and allows you to further specify handling and properties of the receipt message. |
| Correlation Properties: | Shows the correlating properties for a receipt, matching sent properties with receipt properties. You can use the Add Correlation section to build the expected receipt message properties. |
Servers tab
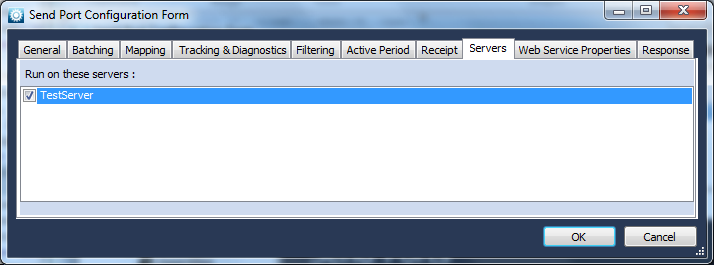
The Servers tab allow you to specify which Servers configured in BlueIntegrator will be used for this Send Port. Checking the name next to the server identifier indicates that server will be used for the Send Port. If no Servers are specified, the Port will not run.
Transport tabs

One or more tabs will be displayed depending on the Transport Provider you have selected. See the Transports topic for further details.
Response tab
The Response tab allows you to specify a Port to which Message responses will be sent, and the amount of time for which responses will be stored for collection from within a Workflow (using a Receive Send Port Response Activity).
This tab will appear if the Transport provider you have selected supports the returning of response data.

